Where There Is No Dentist 2012 163
HOW TO TAKE OUT THE TOOTH
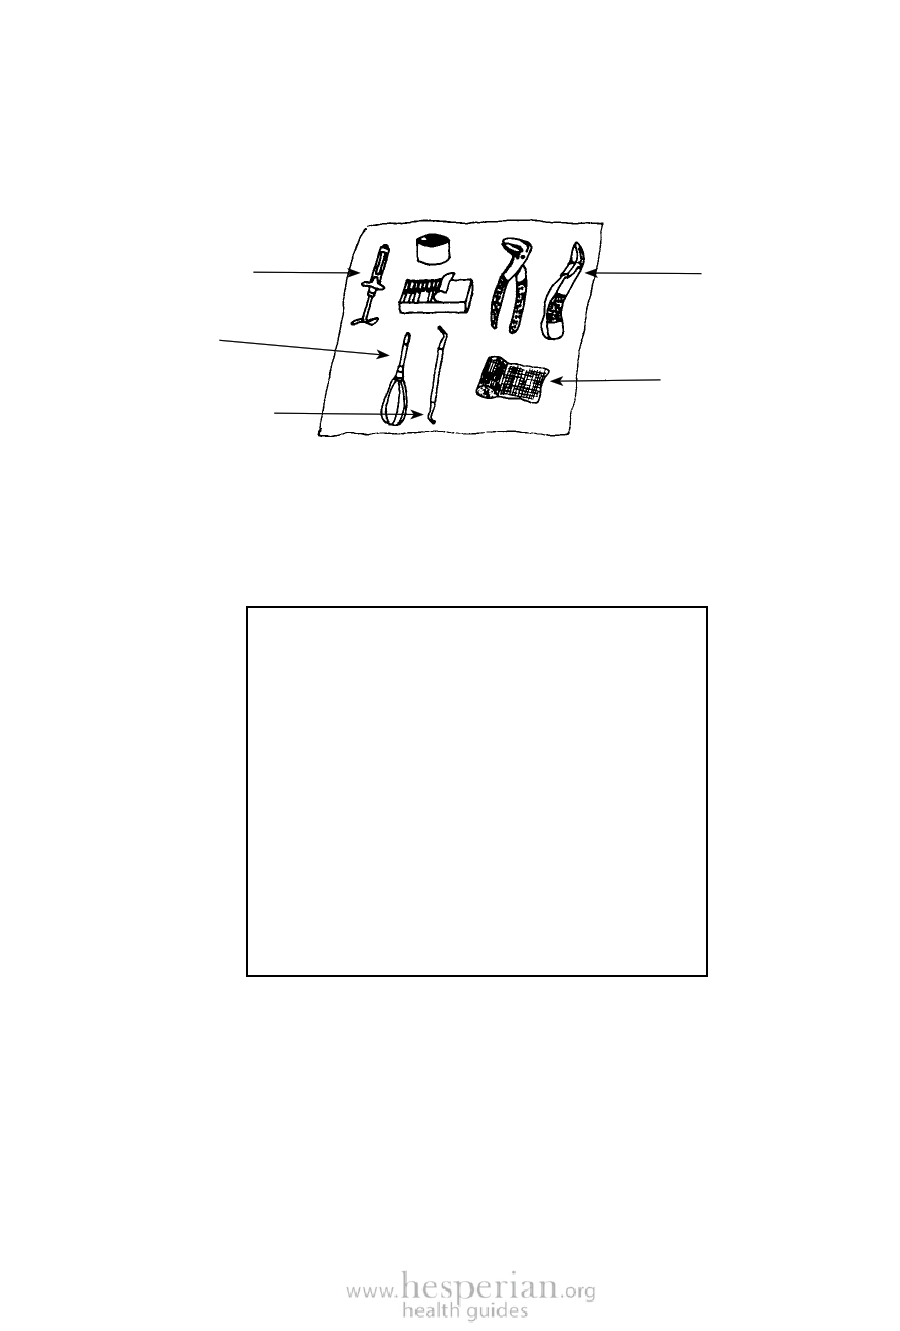
Once you are certain which tooth must come out, decide which instruments
you will need. Lay them out ahead of time on a clean cloth:
a syringe,
needle, and
local anesthetic
forceps
an elevator
spoon instrument
cotton gauze
Before you touch your instruments, be sure your hands are clean. Wash with
soap and water, and put on clean plastic or rubber gloves. See pages 85 and 86.
Be sure, also, that your instruments are clean. See pages 87 to 90. Prevent
infection—keep clean!
To take out a tooth, follow these
8 steps (pages 163–170):
1. Explain what you are going to do.
2. Inject local anesthetic.
3. Separate the gum from the tooth.
4. Loosen the tooth.
5. Take out the tooth.
6. Stop the bleeding.
7. Explain to the person what to do at
home to look after the wound.
8. Help the person to replace the tooth
with a false tooth.
1. Always begin by talking to the person. Explain why you must take
out a tooth (or teeth) and tell how many teeth you will take out. Begin
working only when the person understands and agrees.
2. Inject some local anesthetic slowly, in the right place. Remember
from Chapter 9 that the injection for a lower tooth is different from the
injection for an upper tooth.
Wait 5 minutes for the anesthetic to work, and then test to be sure the
tooth is numb. Be kind—always test before you start. If the person still
feels pain, give another injection.